First, you should learn about the SSL certificate. Then I’ll tell you how to get the HTTPS Blogger custom domain.
What is an SSL Certificate?
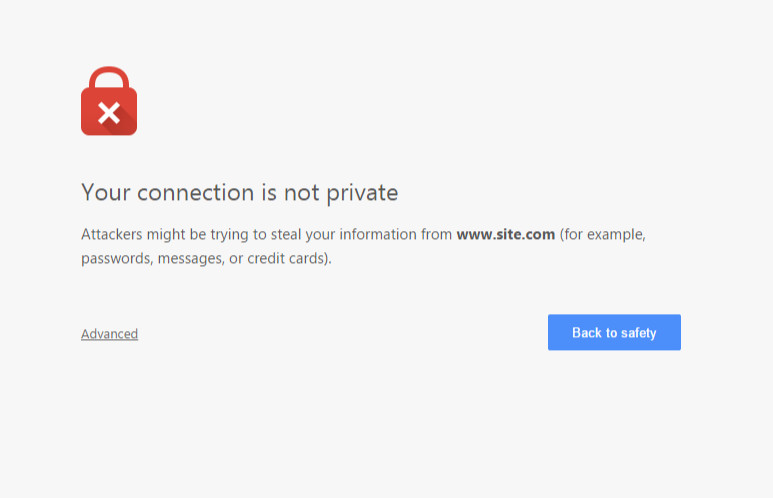
SSL is a short form of Secure Socket Layer that guarantees your website security. On the internet, when a user sends personal information or does a financial transaction, it must keep this personal data safe and secure. For this, we need an SSL Certificate, which ensures personal data is encrypted between the user device and web server and won’t be accessible to the third person. Learn how it works. If a website is secured with an SSL certificate, it has an HTTPS connection. When some website believes in having an SSL certificate or web browser unable to validate the certificate, it shows a warning, as shown below.
Why Use An SSL Certificate / HTTPS?
Before starting implementation steps, you must know a few advantages of using a free SSL certificate (HTTPS) on a blog.
- Google has announced a website with an HTTPS connection will rank better in SERP. It means your blog will be ahead of competitors.
- Your blog will be marked as secured in the eyes of search engines.
- SSL certificate enables a secure connection between your blog and visitors.
- The blog looks more professional.
- Your blog will not get the unsecured connection on Google Chrome and other browsers. It means you will not hesitate to open your blog. Before you enable Blogger HTTPS, you must take off these things- – You need to submit your blog to Google Search Console again as your new blog URL is similar to https://www.yourblog.com. Do not forget to remove the existing “Property” of this blog. – You have to ensure all image URLs are starting with HTTPS. You have to cross-check all the old posts. – All custom blog gadgets should be checked to have SSL connections. If a third-party blog gadget does not have an HTTPS connection, then remove it. – Blog traffic may down for some days because Google will reindex it. So you must submit your blog and sitemap in Google Search Console. Do not forget to do the same for other webmaster tools like Bing etc.
Steps to Enable HTTPS on A Blogger Blog with Custom Domain
Sign in to the Blogger dashboard.
Pick a blog to enable HTTPS
Go to Settings > Basic > HTTPS
Go to HTTPS availability and select YES from Dropdown
It may take a little longer to enable HTTPS. Refresh the web page. 5. Go to HTTPS redirect and select YES from Dropdown
This option ensures all of the visitors will see your blog on an HTTPS connection. Congrats! You have successfully enabled Blogger HTTPS on a blog with a custom domain. Share your experience while implementing SSL for the Blogger custom domain. Do not forget to share your old and new posts with new HTTPS URLs.
Read this post to fix the mixed content issue.
Special Note- This option is not available for all Bloggers. But you can take the help of your friend who can enable HTTPS on his blog if you will add him/her admin of your blog. Then he/she will be able to enable HTTPS on your blog from his/her dashboard. It may take a few hours to see the option to enable HTTPS for your blog. You should keep him/her admin until the “enable HTTPS” option available on your dashboard.
Some Fixes Are Required After Enabling HTTPS on Blogger
Analyze and Fix the Mixed Content
It is possible to have a mixed content issue after using an SSL certificate. Mixed content means your blog posts and pages have used links and images with and without HTTPS.
– Open your blog on Google Chrome
– Press Ctrl+Shift+J keys to open the Javascript console tab.
– The mixed content warning may like this.
“Mixed Content: The page at ‘https://yourcustomdomain.tld/’ was loaded over HTTPS, but requested an insecure script ‘http://
Edit Robots.txt
– Go to Blogger > Settings > Search Preferences – Look for Crawlers and indexing. Here edit Custom robots.txt and add the following – Make sure to change your domain.
Resubmit the Blog Sitemap to Google Search Console
You previously submitted the sitemap for a property that starts with HTTP, not HTTPS, so please cross-check and delete the old property and recreate a new one with HTTPS. A Guide to resubmit sitemap to Google Search Console, Bing Webmaster Tools, and Yandex.Webmaster. Your blog sitemap file name is sitemap.xml and can be found at the following location – I believe this guide is useful for you. Bloggers using a custom domain a Blogspot blog can use a free SSL certificate. Don’t forget to share this post with your friends.